Table of Contents
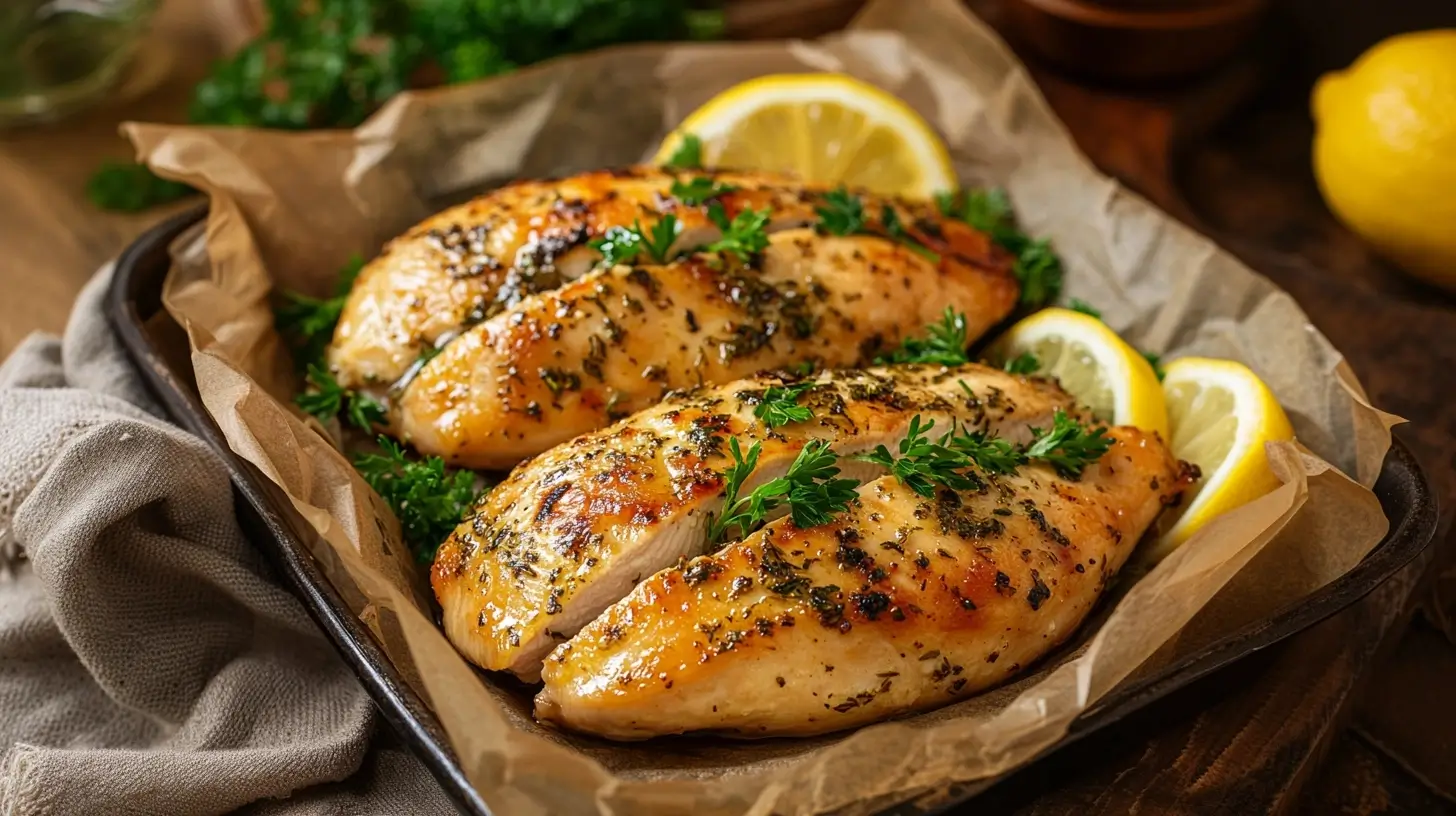
Cooking a large piece of chicken may seem challenging, but learning this skill is essential for any home cook. Whether you roast a whole chicken, cook a bone-in breast, or prepare a large thigh, these cuts offer versatility, flavor, and cost savings. To get the best results, you need to use proper techniques that ensure the chicken cooks evenly, stays juicy, and delivers rich flavor.
This guide explains how to prepare and cook large chicken pieces step by step. It covers selecting the right cut, choosing a cooking method, and applying proven techniques. When you follow these tips, you’ll feel confident making delicious chicken dishes for family and friends.
Choosing the Right Cut
Understanding Chicken Cuts: Characteristics of Each Cut
When cooking large chicken pieces, understanding the unique characteristics of each cut helps you achieve the best results. Each part of the chicken offers a different flavor, texture, and cooking potential.
- Chicken Breasts: These are lean, boneless, or bone-in cuts with a mild flavor. They cook quickly but can dry out if overcooked, so they require precise timing and moisture-retaining methods.
- Chicken Thighs: Known for their rich flavor and tenderness, thighs can be bone-in or boneless. They are higher in fat than breasts, making them less likely to dry out. Thighs work well in slow-cooked dishes or recipes that require prolonged heat.
- Whole Chicken: Cooking a whole chicken delivers a balance of flavors from white and dark meat. It’s perfect for roasting, grilling, or spatchcocking (butterflying) for even cooking. The bones add flavor, especially if you’re preparing stock or broth afterward.
Matching the Cut to the Cooking Method: Best Cooking Methods for Each
Each chicken cut pairs best with specific cooking methods to highlight its natural qualities. Choosing the right method ensures the meat is cooked evenly and remains juicy.
- Chicken Breasts:
- Grilling: Marinate the breasts to add flavor and prevent dryness. Use medium heat to cook evenly.
- Sautéing or Pan-Seared: Quick cooking on the stovetop locks in moisture while adding a golden crust.
- Baking: Cover the breasts with foil or cook them in a sauce to retain moisture.
- Chicken Thighs:
- Braising: Slowly cooking thighs in liquid enhances their tenderness and deepens their flavor.
- Roasting: The higher fat content makes thighs ideal for crispy, flavorful roasted dishes.
- Grilling: Bone-in thighs grill beautifully, retaining their juiciness while developing a smoky flavor.
- Whole Chicken:
- Roasting: This method caramelizes the skin while allowing the meat to cook through evenly. Use a meat thermometer to ensure doneness.
- Grilling: A spatchcocked whole chicken grills evenly and cooks faster than traditional roasting.
- Slow-Cooking: Use a crockpot to prepare a tender, fall-off-the-bone chicken.
By understanding these cuts and matching them to the right cooking techniques, you can enhance the flavor and texture of your chicken dishes, turning simple meals into memorable culinary experiences.
Pre-Cooking Preparation: Essential Steps Before Cooking
Proper preparation is crucial for cooking large chicken pieces. By following these steps, you ensure the chicken is safe to eat, evenly cooked, and full of flavor.
Thawing the Chicken: Safe Thawing Methods
If you are using frozen chicken, thawing it safely is the first step. Improper thawing can lead to uneven cooking or bacterial growth. Here are two safe methods:
- Refrigerator Thawing: Place the chicken in its packaging or a sealed container on a plate in the fridge. This method keeps the temperature consistent, preventing bacteria from forming. Depending on the size of the chicken, thawing can take 12 to 24 hours.
- Cold Water Thawing: For faster thawing, submerge the chicken (sealed in a leak-proof bag) in cold water. Change the water every 30 minutes to maintain a safe temperature. A large chicken piece usually takes 1-3 hours to thaw this way.
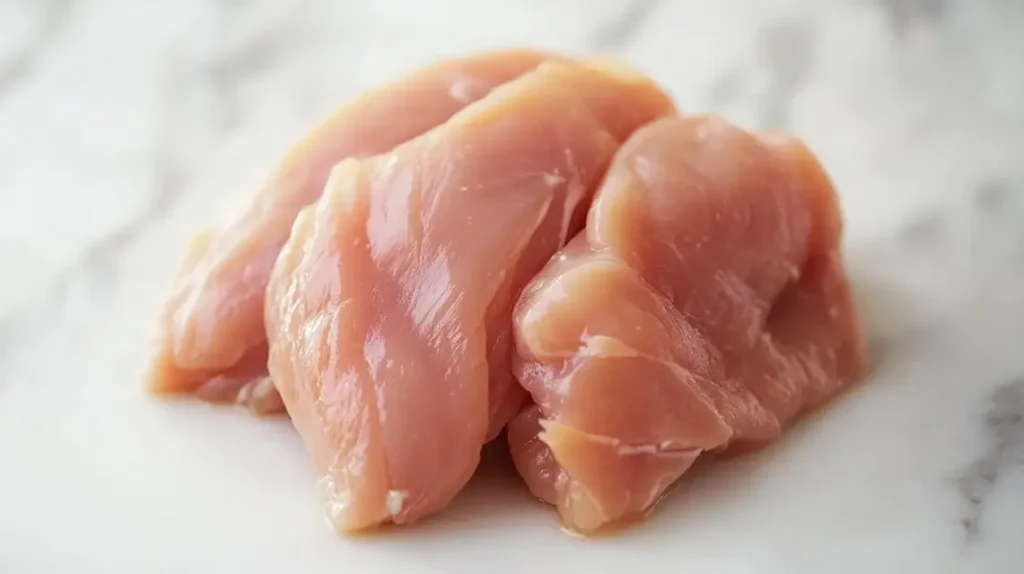
Cleaning and Trimming: Proper Cleaning Techniques
Once thawed, cleaning and trimming the chicken ensures it is ready for seasoning and cooking.
- Rinse or Pat Dry: While rinsing chicken is optional due to cross-contamination risks, patting the chicken dry with paper towels is essential. Dry skin allows for better seasoning adhesion and crispier skin when roasting or grilling.
- Trimming Excess Fat or Skin: Use a sharp knife to remove any unwanted fat, skin, or leftover feathers. Proper trimming improves the texture and presentation of the cooked chicken.
Seasoning Basics: The Importance of Seasoning
Seasoning is key to enhancing the natural flavors of chicken.
- Salt and Pepper: A generous coating of salt and pepper is the foundation of seasoning. Salt draws out moisture, creating a flavorful crust, while pepper adds depth.
- Marinades: Use marinades to infuse chicken with flavor. Include an acid (like lemon juice or vinegar), oil, and spices to create a balanced marinade. Let the chicken sit for at least 30 minutes or up to 12 hours in the fridge.
- Dry Rubs: For a quicker option, apply a blend of spices directly to the chicken. Paprika, garlic powder, onion powder, and cayenne pepper are common choices.
Preparing for Even Cooking: Techniques for Uniform Thickness
Uneven chicken pieces can cook inconsistently, leaving some parts overcooked or undercooked. To ensure even cooking:
- Pounding: Use a meat mallet or rolling pin to gently pound the chicken breast to an even thickness. Place the chicken between two sheets of plastic wrap or parchment paper to prevent tearing.
- Trussing for Whole Chickens: When roasting a whole chicken, tie the legs together with kitchen twine. This helps the chicken cook evenly and retains its shape.
- Scoring or Spatchcocking: For thighs or whole chickens, scoring the meat or flattening it (spatchcocking) allows for faster and more consistent cooking.
By following these pre-cooking preparation steps, you set the foundation for a delicious and well-cooked chicken dish. From thawing to seasoning, each step contributes to the overall quality and flavor of your meal.
Cooking Methods: Detailed Techniques for Large Chicken Pieces
Mastering the right cooking method ensures that large chicken pieces are juicy, flavorful, and perfectly cooked. Here’s a breakdown of four popular techniques and how to execute them.
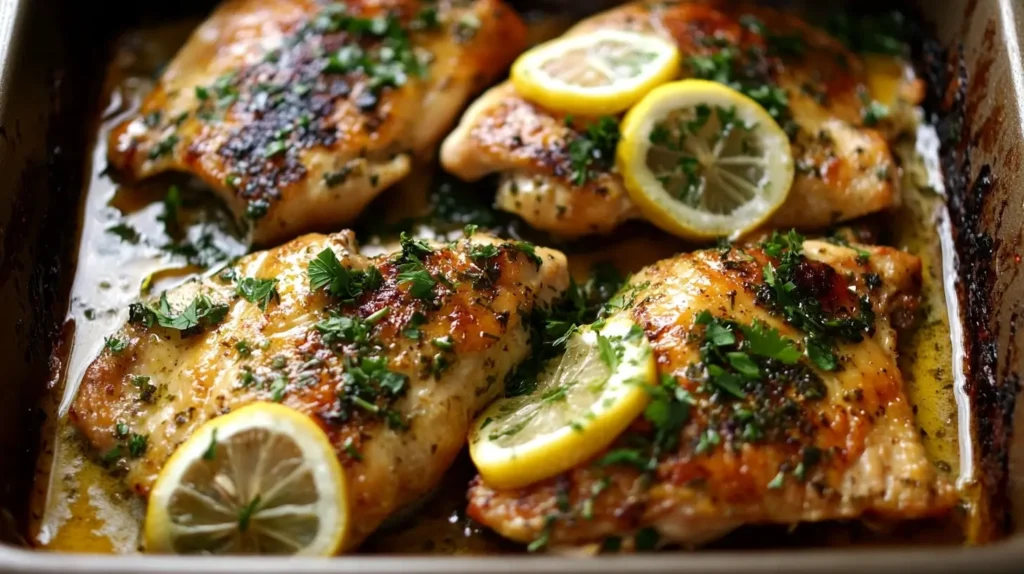
Oven-Baking: Step-by-Step Guide for Baking Large Chicken Pieces
Oven-baking is ideal for large chicken cuts like bone-in breasts, thighs, or a whole bird. It evenly cooks the meat while creating a golden, crispy exterior.
Steps:
- Preheat the Oven: Set the oven to 375°F (190°C) for bone-in pieces or 400°F (200°C) for boneless pieces.
- Prepare the Chicken: Pat the chicken dry and season it generously with salt, pepper, and other spices or marinades.
- Arrange in a Baking Dish: Place the chicken in a single layer in a greased baking dish or on a lined sheet pan.
- Add Moisture (Optional): For bone-in cuts, add a splash of chicken broth, lemon juice, or oil to the dish to enhance moisture.
- Bake to Perfection: Cook until the internal temperature reaches 165°F (74°C) for breasts or 175°F (79°C) for thighs. Use a meat thermometer for accuracy.
- Rest Before Serving: Allow the chicken to rest for 5-10 minutes before cutting to retain its juices.
Pro Tip: Use aluminum foil to cover the chicken during the first half of cooking, then remove it to crisp the skin.
Grilling: Tips for Grilling Large Cuts
Grilling imparts a smoky, charred flavor to large chicken pieces like thighs, drumsticks, or whole spatchcocked chickens.
Steps:
- Preheat the Grill: Heat the grill to medium or medium-high. For charcoal grills, create two heat zones (direct and indirect heat).
- Prepare the Chicken: Marinate the chicken or season it with a dry rub. Pat it dry to ensure even grilling.
- Start with Direct Heat: Place the chicken over direct heat to sear and create grill marks. Cook for 2-3 minutes per side.
- Move to Indirect Heat: Transfer the chicken to the cooler side of the grill. Close the lid and cook until the internal temperature reaches the recommended level (165°F for breasts, 175°F for thighs).
- Baste and Turn (Optional): For added flavor, baste with a glaze or sauce during the last few minutes.
- Rest Before Serving: Let the chicken rest for 5-10 minutes to allow the juices to redistribute.
Pro Tip: Use a meat thermometer and avoid opening the grill lid too often, as this can lower the temperature.
Slow Cooking: Using Slow Cookers for Tender Results
Slow cooking is perfect for large cuts like bone-in thighs, drumsticks, or even whole chickens. It allows the meat to become tender and juicy while infusing it with flavor.
Steps:
- Prepare the Chicken: Season the chicken generously or use a marinade. For additional flavor, sear the chicken in a hot skillet before placing it in the slow cooker.
- Add Ingredients: Place the chicken in the slow cooker along with vegetables, herbs, and liquid (such as broth or a sauce).
- Set the Timer: Cook on low for 6-8 hours or high for 3-4 hours. Ensure the internal temperature reaches 165°F for safe consumption.
- Thicken the Sauce (Optional): If you want a thicker sauce, remove the chicken and simmer the liquid on the stove.
- Serve: Shred the chicken for recipes like tacos or serve whole for a hearty meal.
Pro Tip: Avoid overfilling the slow cooker, as it may affect cooking time and consistency.
Sous Vide: Achieving Precision Cooking with Sous Vide
Sous vide is a precision cooking method that ensures even cooking and retains maximum moisture and flavor.
Steps:
- Prepare the Chicken: Season the chicken with salt, pepper, and optional herbs or spices. Place it in a vacuum-sealed bag or a resealable plastic bag using the water displacement method.
- Set the Temperature: Heat the water bath to the desired temperature. For breasts, set to 145°F (63°C); for thighs, set to 165°F (74°C).
- Cook in the Water Bath: Submerge the bag in the water bath and cook. Breasts typically take 1-2 hours, while thighs may require 2-4 hours.
- Sear for a Finishing Touch: Remove the chicken from the bag, pat it dry, and sear it in a hot pan with oil or butter for a golden crust.
- Serve Immediately: Slice and serve, or use the cooked chicken in recipes like salads or pasta.
Pro Tip: Sous vide is ideal for meal prep. You can cook chicken ahead of time and refrigerate it for quick meals.
By mastering these cooking methods—oven-baking, grilling, slow cooking, and sous vide—you can prepare large chicken pieces with confidence and variety. Each method offers unique flavors and textures, making chicken a versatile and satisfying choice for any occasion.
Internal Temperature Guide: Ensuring Safe and Juicy Chicken
Cooking chicken to the correct internal temperature is crucial for both safety and flavor. Undercooking can lead to foodborne illnesses, while overcooking results in dry, tough meat. Using a meat thermometer ensures your chicken is safe to eat and remains juicy and tender.
Using a Meat Thermometer: How to Properly Measure Internal Temperature
A meat thermometer is an essential tool for accurate cooking. Follow these steps to measure the internal temperature correctly:
- Choose the Right Thermometer: Use a digital instant-read thermometer for quick and precise readings.
- Insert the Probe: Place the thermometer probe into the thickest part of the chicken, avoiding bones, as they can give false readings.
- Check During Cooking: Begin checking the temperature as the chicken nears the estimated cooking time. This prevents overcooking.
- Read the Temperature: Wait until the thermometer stabilizes and gives a consistent reading.
- Clean the Thermometer: Sanitize the probe between uses to avoid cross-contamination.
Pro Tip: For whole chickens, check the temperature in the thickest part of the thigh and breast to ensure the entire bird is cooked.
Recommended Temperatures: Ideal Temperatures for Different Cuts
Different chicken cuts require specific internal temperatures to achieve the best texture and flavor. Here are the USDA-recommended safe minimum temperatures, along with tips for achieving optimal results:
- Chicken Breasts (Boneless or Bone-In):
- Safe Temperature: 165°F (74°C)
- Tip: Remove the chicken from the heat at 160°F (71°C) and let it rest. The internal temperature will rise to 165°F as it rests.
- Chicken Thighs and Drumsticks:
- Safe Temperature: 175°F (79°C)
- Tip: Dark meat benefits from slightly higher temperatures, which help break down connective tissues and create a tender texture.
- Whole Chicken:
- Safe Temperature: 165°F (74°C) in the breast and 175°F (79°C) in the thigh
- Tip: Check the temperature in both areas to ensure the entire chicken is fully cooked.
- Ground Chicken:
- Safe Temperature: 165°F (74°C)
- Tip: Because ground chicken is more exposed to bacteria, it must always reach 165°F.
- Sous Vide Chicken:
- Safe Temperature: 145°F (63°C) for breasts, cooked for at least 1 hour
- Tip: Sous vide cooking times ensure pasteurization, allowing for lower temperatures while maintaining safety.
Resting After Cooking
After reaching the recommended temperature, let the chicken rest for 5-10 minutes before cutting. This resting period allows the juices to redistribute, resulting in moist and flavorful meat.
By using a meat thermometer and following the recommended internal temperature guidelines, you can confidently cook chicken that is both safe to eat and deliciously juicy.
Conclusion:
Cooking large chicken pieces can be simple and rewarding when you follow the right steps. From choosing the best cut to mastering techniques like oven-baking, grilling, slow cooking, and sous vide, you now have the tools to create perfectly cooked chicken every time. Remember to use a meat thermometer to ensure your chicken is both safe and juicy.
With proper preparation and practice, you can confidently experiment with recipes like baked chicken cutlets or even incorporate your chicken into creative dishes like garlic Parmesan chicken pasta. Take these tips into your kitchen and elevate your meals to new heights!